Taking an exam using Smart Exam Monitor V2
Published on: 2023-08-01 by Edufide
This article describes how to take an exam using Smart Exam Monitor V2.
Contents:
Required Device(s)
To take an exam using Smart Exam Monitor V2, you will need a computer with a webcam and microphone.
Please note that mobile devices such as cellphones and tablets are not supported.
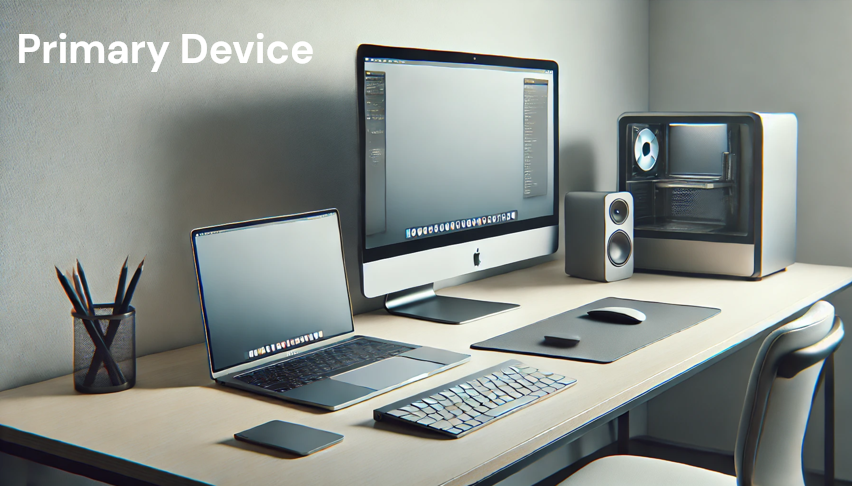
A secondary device such as a smartphone or tablet may also be required for certain exams.
Examination Space
To ensure a fair examination environment, you must have a clutter-free exam space.
You must not have any books, notes, or any other materials on your desk or within reach.
You must also not have any other electronic devices such as cellphones, tablets, or smartwatches within reach.
Please follow the instructions provided by your instructor to ensure that your exam space is appropriate.

Browser Requirements
Smart Exam Monitor V2 requires the latest version of Google Chrome.
Please ensure that you have the latest version of Google Chrome installed on your computer.
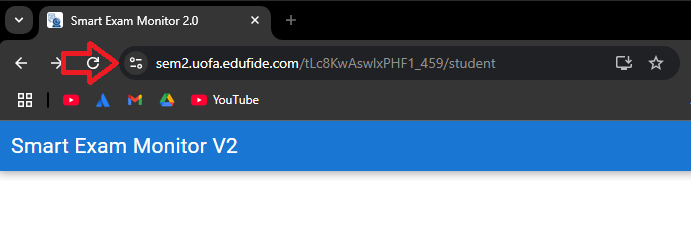
Device Validation
Before you can take an exam using Smart Exam Monitor V2, you must validate your device. This process ensures that your computer meets the requirements for taking an exam using Smart Exam Monitor V2.
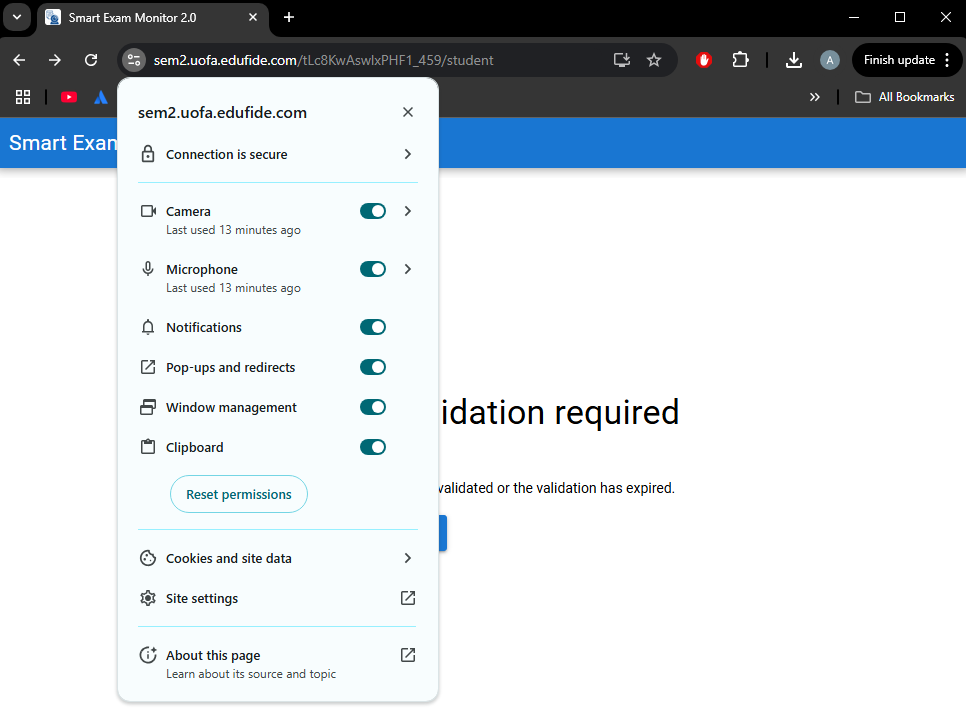
The following permissions are required for the device validation process:
- Camera
- Microphone
- Notifications
- Pop-ups and redirects
- Window Management
- Clipboard
Permissions can be granted by clicking on the site information icon in the address bar of Google Chrome.
App Installation
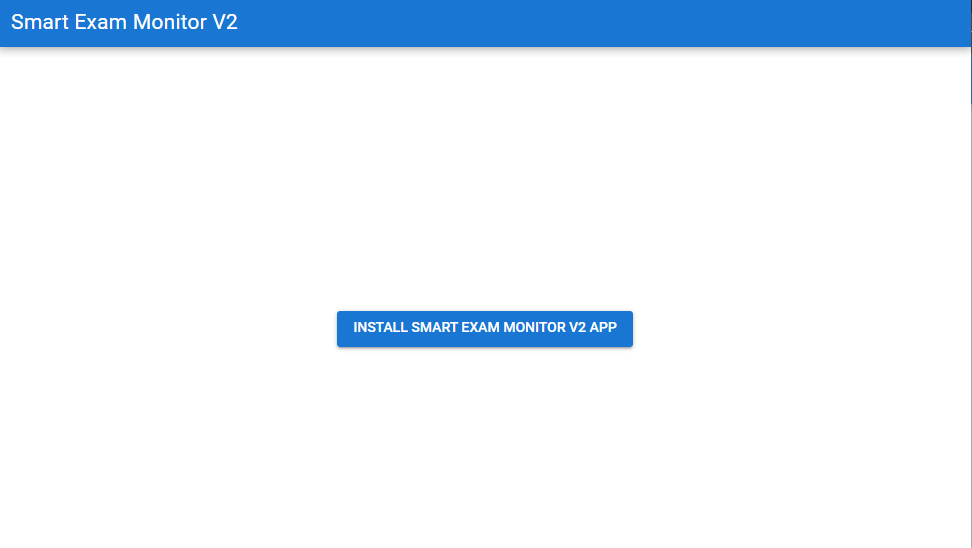
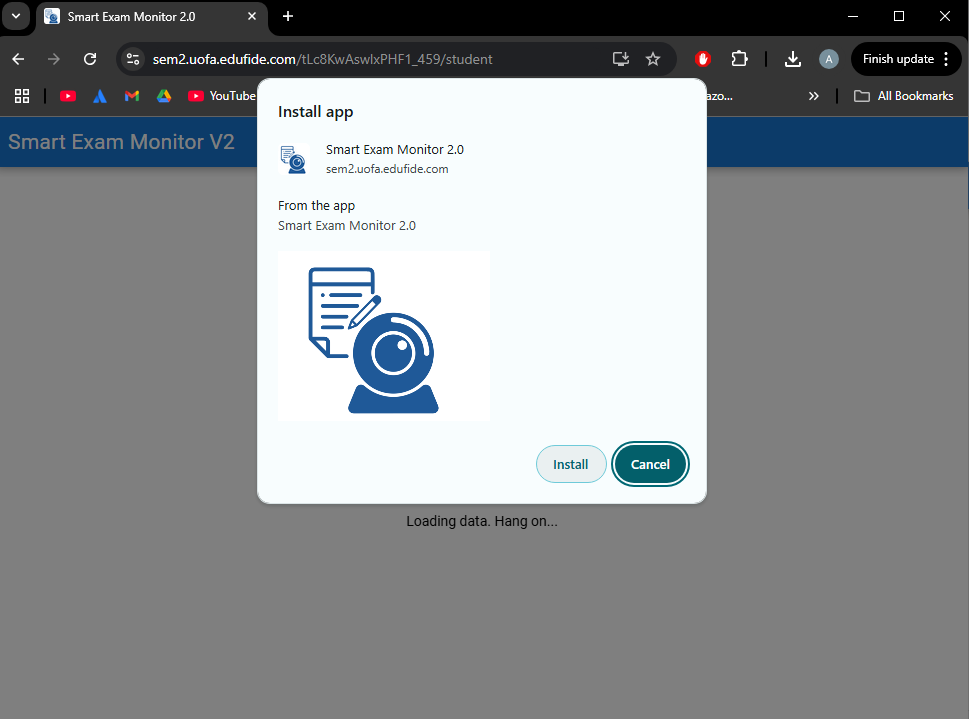
Once you have validated your device, you will need to install the Smart Exam Monitor V2 app. Click the “Install Smart Exam Monitor V2 App” button to install the app.
Taking an exam
You are now ready to take an exam using Smart Exam Monitor V2.
Make sure the Smart Exam Monitor window is maximized and you are not using any other applications or browser tabs.
Follow the exam setup wizard to access your exam. You will be required to share your camera and screen. Additionally, you may be required to record your exam area. Finally, you will be required to take a picture of yourself and your ID.
On the final step, you will be provided the exam instructions and you will be able to start the exam.
Please note that you must not close the exam window or navigate away from the exam page
until you have completed and submitted the exam.